BeautifulSoup proxy with LightningBytes
Learn how to use a BeautifulSoup proxy with Python. Connect BeautifulSoup scraping workflows to LightningBytes residential and mobile proxies with HTTP and SOCKS5 support, proxy authentication, and flexible scaling
What is BeautifulSoup?
BeautifulSoup is a Python library for parsing HTML and XML documents. It turns web pages into a searchable Python object structure, making it easier to find elements, extract text, follow links, and collect structured data.
BeautifulSoup itself doesn't send web requests or manage proxies. A Python HTTP client such as Requests retrieves the webpage, while BeautifulSoup parses the returned HTML. This makes a Python BeautifulSoup proxy workflow simple: configure the proxy in Requests, download the page, and pass the response to BeautifulSoup. Requests supports HTTP and SOCKS proxies, as well as proxy authentication.
- Custom proxy configuration
- 30M+ residential IPs pool
- 24/7 expert support
How to use LightningBytes proxies with BeautifulSoup
Follow the steps below to route BeautifulSoup through your LightningBytes residential or mobile proxies.
- 1
Check or install Python
Open your terminal and run:python --version

- 2
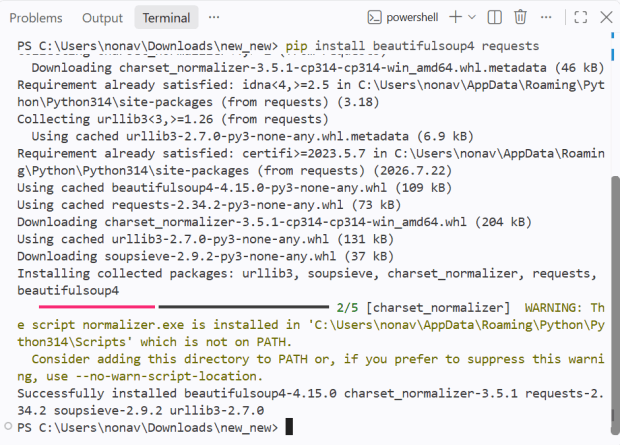
Install BeautifulSoup and Requests
Install the libraries required for a Python scraping workflow:pip install beautifulsoup4 requests
- 3
Create your project folder
In your terminal:mkdir beautifulsoup_lightningbytes_project
cd beautifulsoup_lightningbytes_project
- 4
Create a script folder
Create a separate folder for your BeautifulSoup scripts:mkdir src
cd src

- 5
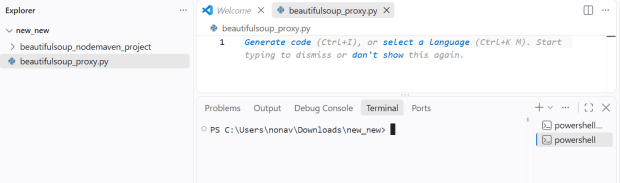
Create your BeautifulSoup proxy script
Create a file named:beautifulsoup_proxy.py
- 6
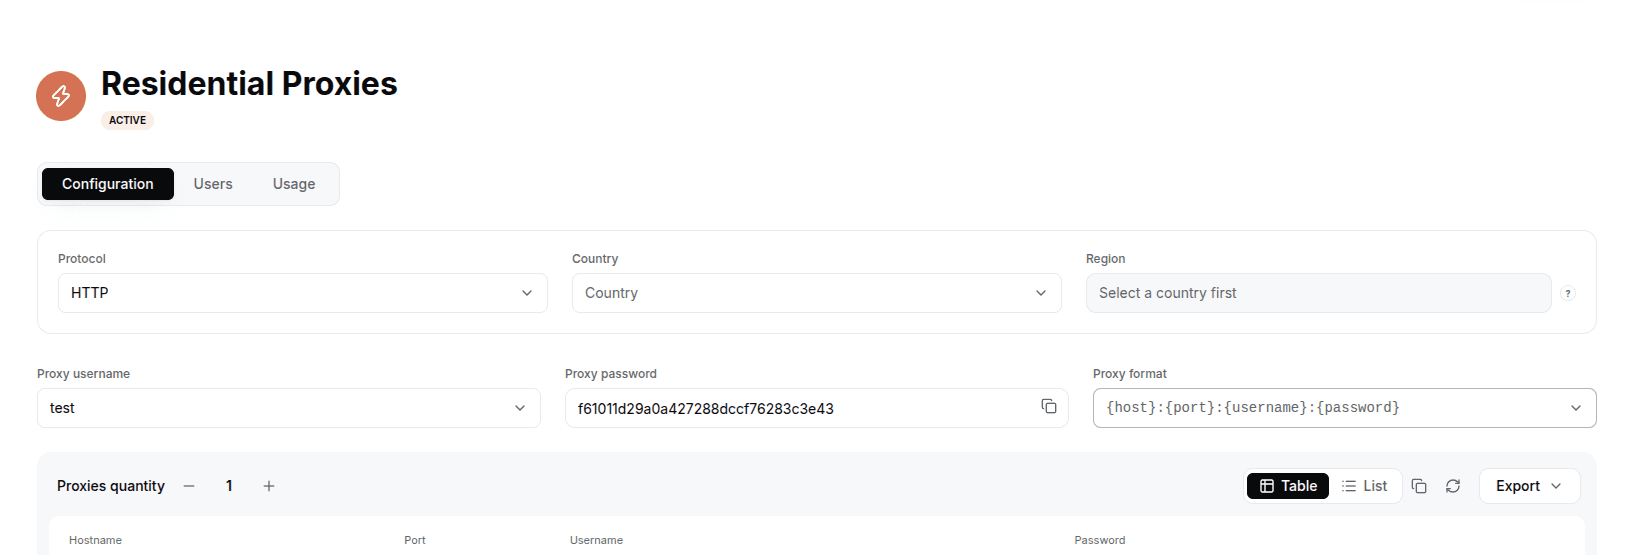
Generate your LightningBytes proxy
In the LightningBytes dashboard, open your Residential or Mobile proxies page and go to the Configuration tab. Choose the protocol (HTTP or SOCKS5), set the country and region if you need targeting, and select the proxy user. Copy the generated endpoint, host:port:username:password by default, or pick a different format from the Proxy format dropdown. You will paste the username and password into the script in the next step.
- 7
Add proxy configuration
Paste this code:
import requests
from bs4 import BeautifulSoup
url = "https://example.com"
proxies = {
"http": "http://YOUR_USERNAME:YOUR_PASSWORD@proxy.lightningbytes.com:1080",
"https": "http://YOUR_USERNAME:YOUR_PASSWORD@proxy.lightningbytes.com:1080"
}
response = requests.get(
url,
proxies=proxies,
timeout=30
)
soup = BeautifulSoup(response.text, "html.parser")
print(soup.title.get_text(strip=True))
- 8
Run the script
From the src folder:python beautifulsoup_proxy.py
Connect BeautifulSoup to clean, filtered IPs
Residential and mobile proxies on pay-as-you-go or subscription plans, HTTP(S) and SOCKS5 on every plan.