SocksDroid proxy for Android SOCKS5 workflows
Set up LightningBytes proxy for SocksDroid in minutes. Use clean residential and mobile proxies with SOCKS5 support for stable Android sessions and reliable mobile performance
What is SocksDroid?
SocksDroid is a lightweight Android app that helps route mobile traffic through a SOCKS proxy connection. It is used for Android SOCKS5 proxy setups, app testing, mobile workflows, and checking how websites or apps see your connection. When used with LightningBytes proxies, SocksDroid gives you clean IPs, stable sessions, and flexible proxy options for Android devices
How to use LightningBytes proxies with SocksDroid
Follow the steps below to route SocksDroid through your LightningBytes residential or mobile proxies.
- 1
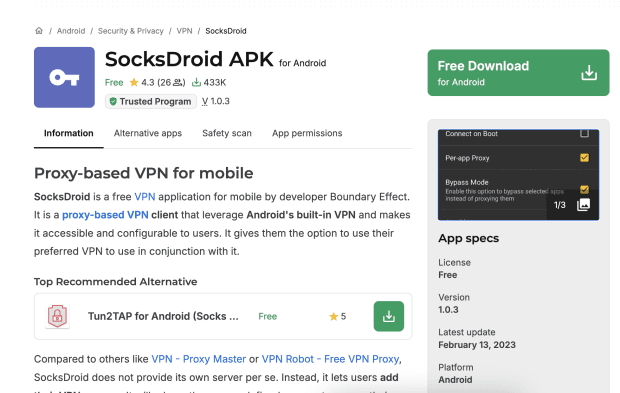
Download SocksDroid on Android
SocksDroid is no longer available directly on the Google Play Store, so download it from a trusted source.
After installation, open the app and prepare your LightningBytes proxy details.
You will need your proxy server address, port, username, and password from the LightningBytes dashboard.
- 2
Generate a SOCKS5 proxy in LightningBytes
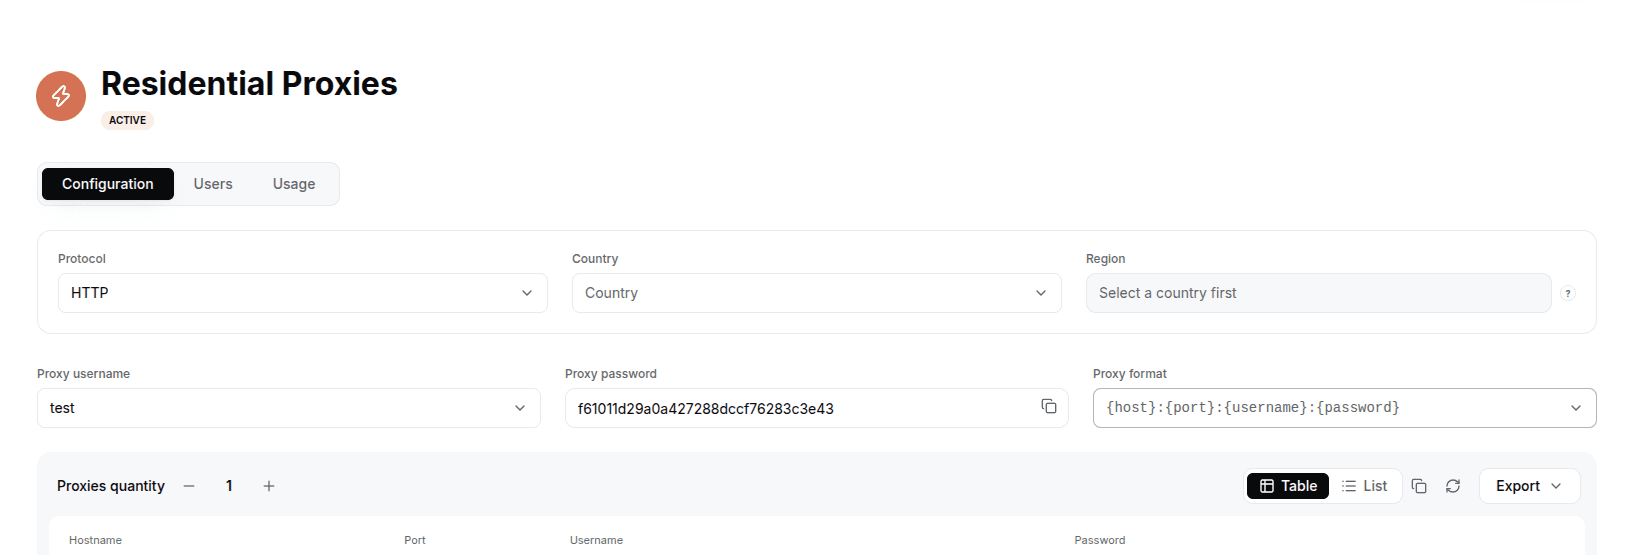
In the LightningBytes dashboard, open your Residential or Mobile proxies page and go to the Configuration tab. Create a proxy for SocksDroid with the SOCKS5 protocol: use residential proxies for flexible rotation or mobile proxies for mobile-first workflows, set the country and region if you need targeting, and select the proxy user. Copy the host, SOCKS5 port, username and password.
- 3
Open SocksDroid proxy settings
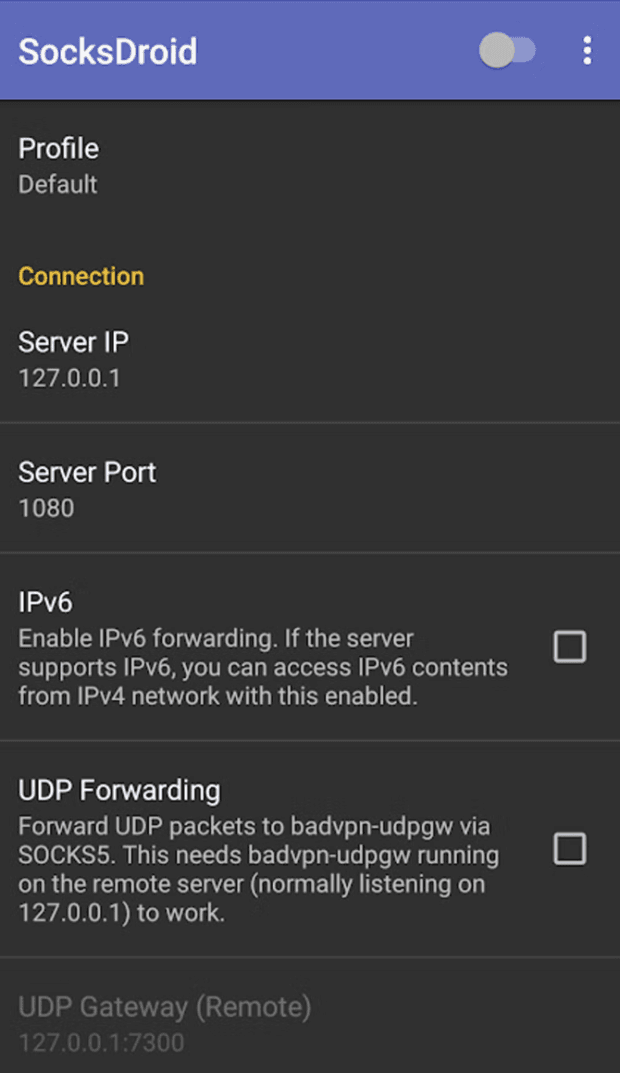
In the SocksDroid app, open the main proxy configuration screen.
Find the Server IP field and the Server Port field. This is where you add your copied from the dashboard LightningBytes proxy server details for the SocksDroid connection.
If your proxy uses username and password authentication, enable the Authentication option before connecting.
- 4
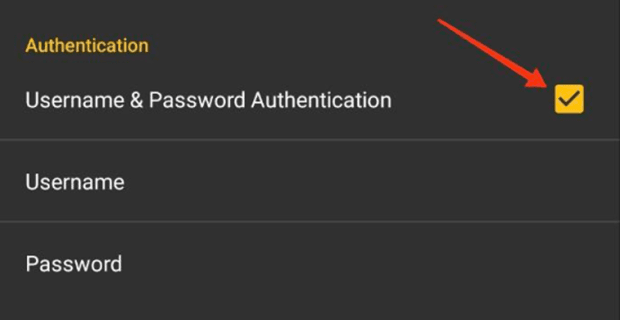
Enable the Authentication option
If your proxy uses username and password authentication, enable the Authentication option before connecting.
- 5
Add your SocksDroid proxy server details
Enter your LightningBytes SocksDroid proxy details in the app:
Server IP: proxy.lightningbytes.com
Server Port: 10003 (the LightningBytes SOCKS5 port)
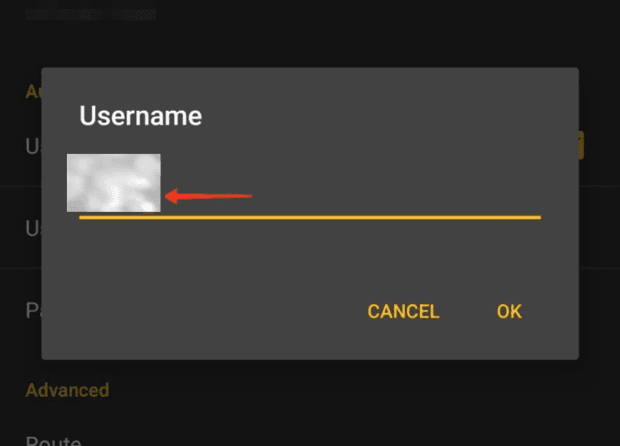
Username: your proxy username
Password: your proxy password
Make sure there are no extra spaces in the username, password, server address, or port.
Once completed, save the SocksDroid proxy configuration.
- 6
Connect to the SocksDroid proxy
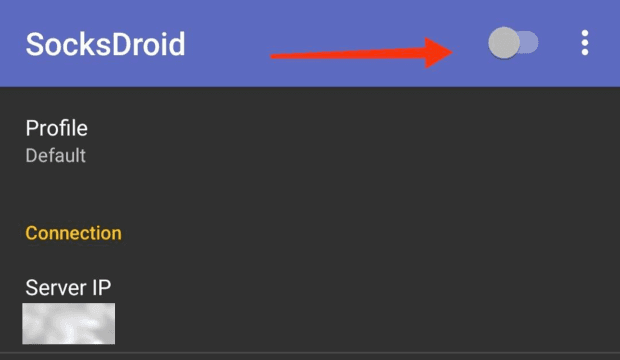
Use the main switch inside SocksDroid to activate the proxy connection. Android may ask you to confirm the connection request before the proxy starts.
After connecting, open an IP lookup tool and check whether your visible IP, location details match the proxy selected in LightningBytes. If the IP changed, your SocksDroid proxy is now active
Connect SocksDroid to clean, filtered IPs
Residential and mobile proxies on pay-as-you-go or subscription plans, HTTP(S) and SOCKS5 on every plan.